Bluetooth Pairing
Learn how to use your Air Lab's Bluetooth connectivity to interface with Air Lab Console, Script Editor and other Studio tools.
Your Air Lab connects to Studio via Bluetooth, enabling you to upload scripts, update firmware, access live data, and configure device settings from your computer.
Connecting
Follow the steps below to pair your Air Lab with Studio using Bluetooth.
Note: The Bluetooth connection stays active throughout your current Studio session. A new device selection will only be required if you refresh or reopen Studio in your browser.
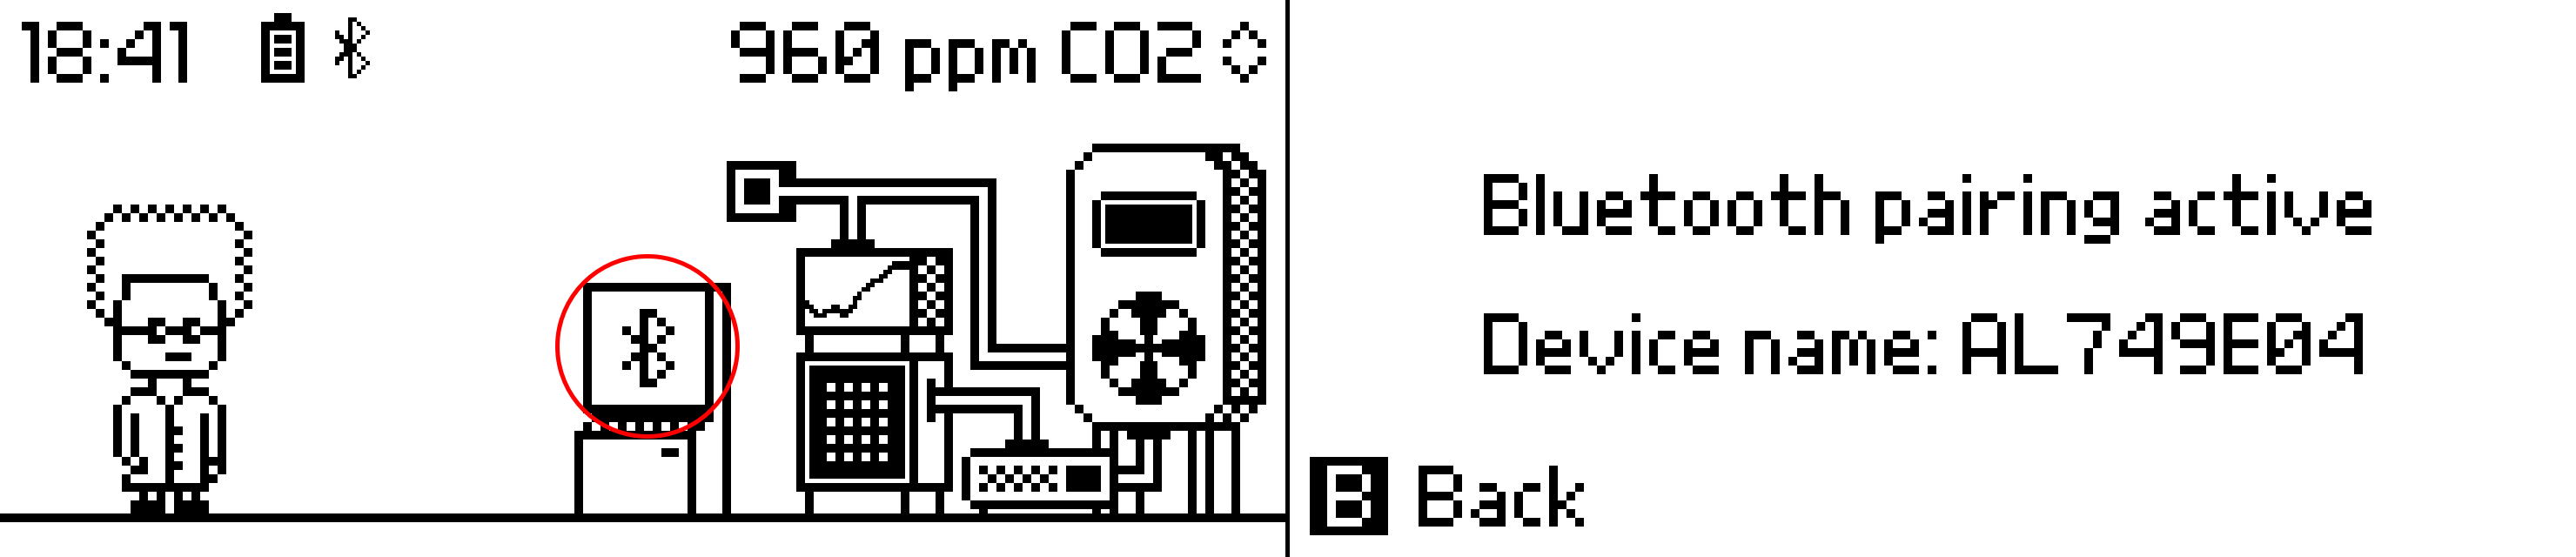
- On your Air Lab, activate the Bluetooth Pairing program from Prof. Robin's Computer.
- On your computer, open Studio with a Chromium-based browser (Chrome, Edge, etc.).
- Navigate to a Bluetooth-enabled tool (Console, Story, or Script Editor).
- Trigger the connection by clicking Connect, Install, or Run depending on the tool.
- Select your Air Lab from the pop-up menu.
Your Air Lab is now connected to Studio via Bluetooth. The Bluetooth icon will appear in the top left of your Air Lab's status bar to indicate an active connection. Once established, the connection remains active and prevents the device from entering the sleep state.
After the initial pairing, you can skip step 1 and directly open Studio and navigate to a Bluetooth-enabled tool to connect automatically.
Bonding
Air Lab supports BLE bonding, which stores pairing information persistently on both your Air Lab and your computer. Bonded connections use encryption and reconnect faster because the devices remember each other.
To enable bonding, set Bluetooth Bonding to On in Settings → Configuration.
Note: Changing this setting shows a confirmation dialog and requires a restart.
Advanced
By default, your Air Lab only accepts Bluetooth connections while the Bluetooth Pairing program is active. You can change this by setting Bluetooth Pairing to Off in Settings → Configuration. When disabled, your Air Lab accepts connections at any time without needing to open the pairing program first.
Note: Changing this setting shows a confirmation dialog and requires a restart.
Troubleshooting
- After a firmware update or device recovery, you'll need to re-pair your Air Lab with Studio by repeating the above steps.
- If the device doesn't appear in the selection pop-up, ensure that Bluetooth is enabled on your computer and that your Air Lab is in pairing mode by running the Bluetooth Pairing program.
- If the device shows as "Paired" in the browser, but the connection fails, restart your browser and try again.
- If the connection still fails, clear the pairing on both sides: remove the device from your computer's or mobile's Bluetooth settings, and use Clear BT Devices in Settings → Configuration on your Air Lab. Then re-pair from scratch.