Soil Sensor
Learn how to connect an external soil-moisture sensor and write a script that notifies you when it's time to water your plant. The script will run on your Air Lab as a plugin and will be written and compiled in Script Editor.
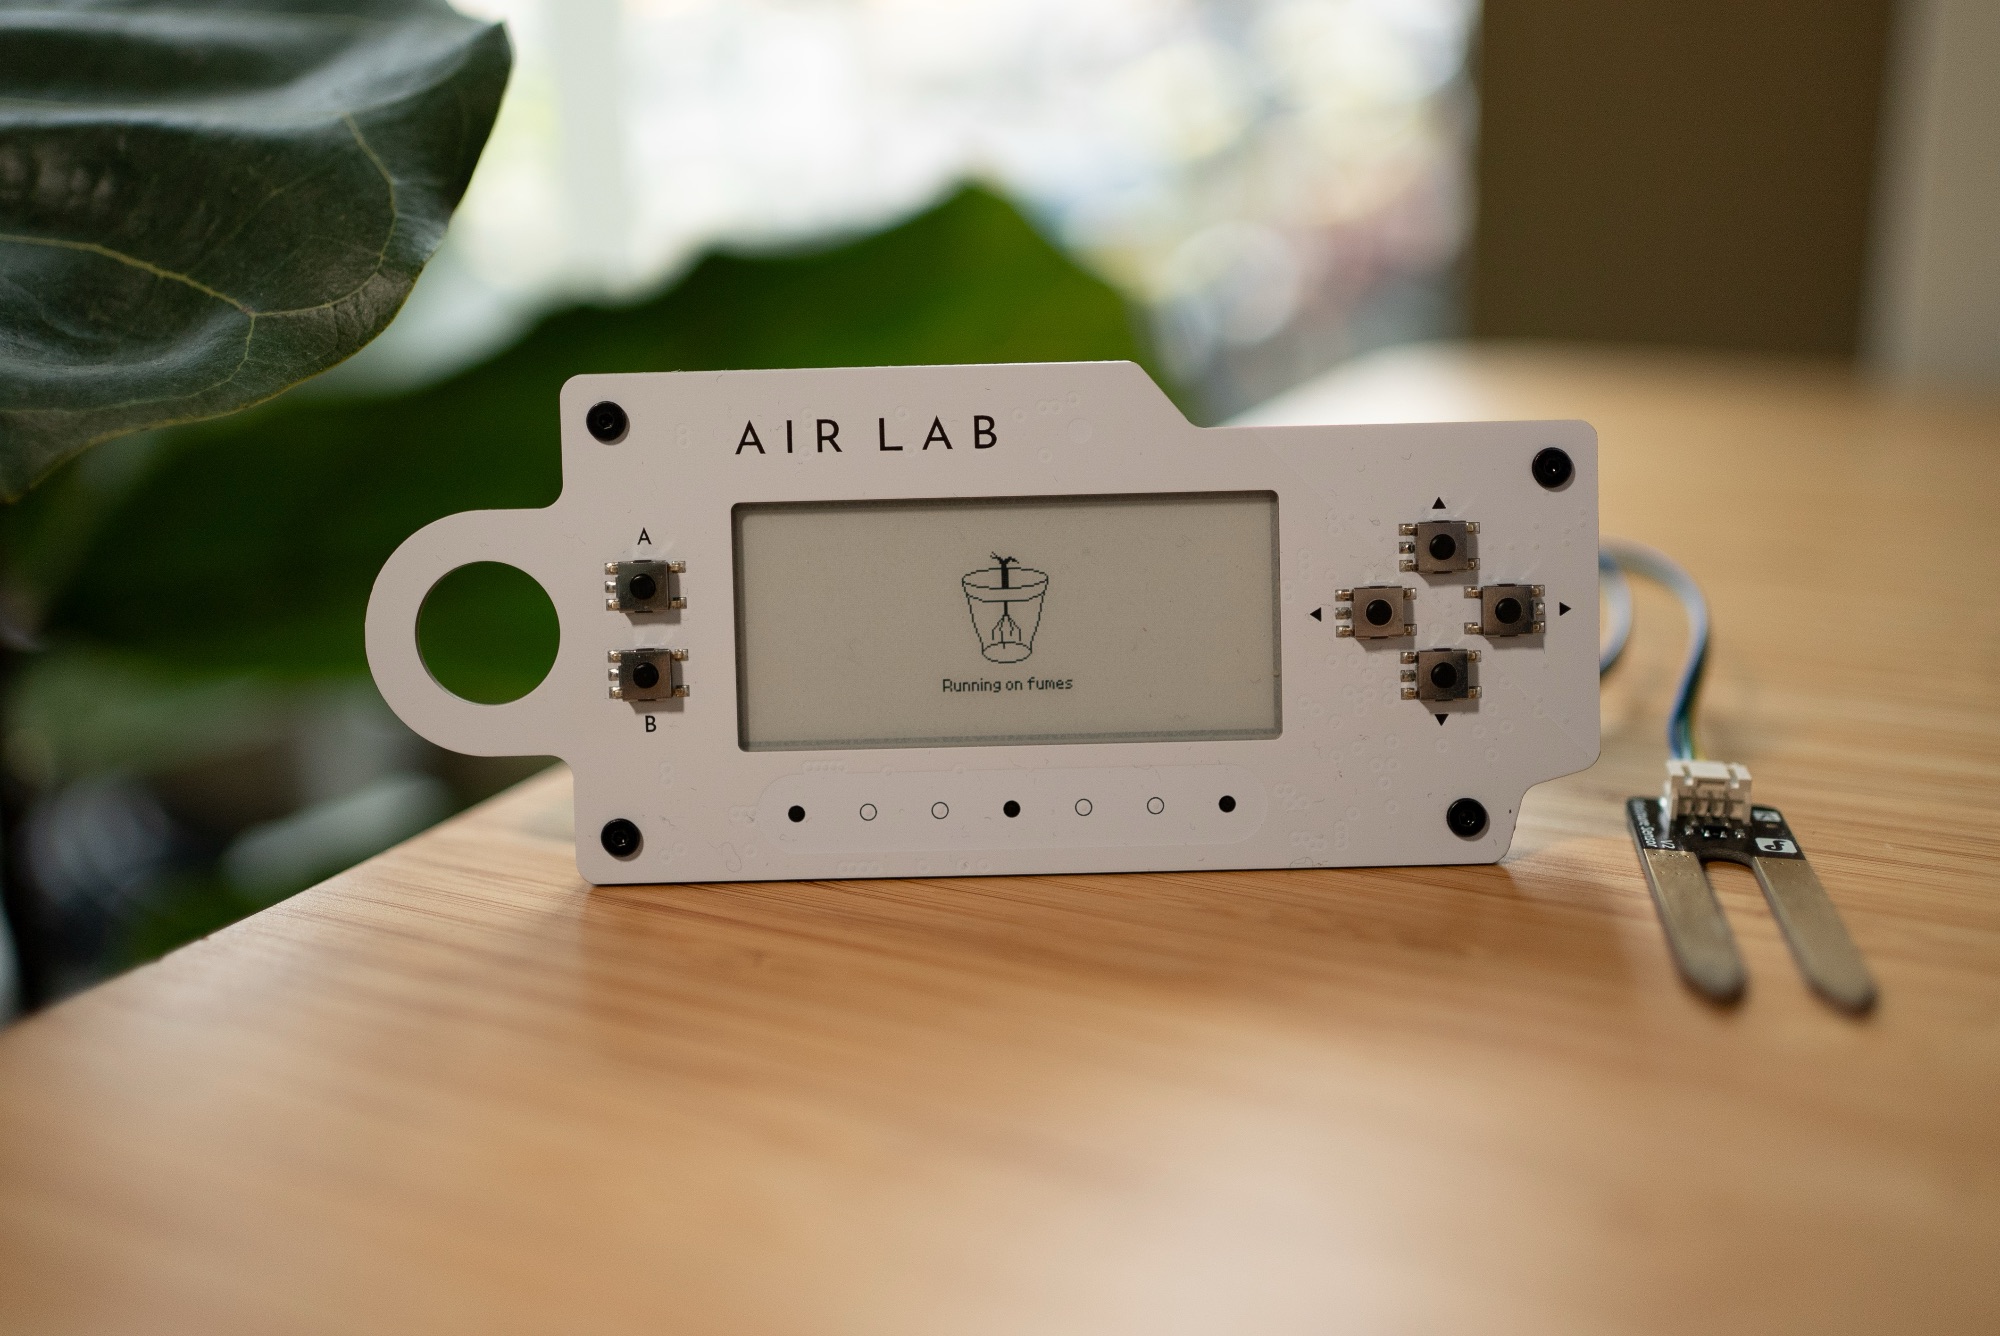
A soil moisture sensor measures how wet the soil is. When placed in a planter, it provides a quick way to determine when a plant needs water. In this project, we'll display the soil's saturation level on your Air Lab's E-Paper display.
There are several types of soil sensors, each of which uses different technology to measure moisture levels. In this case, we use a resistance method. The sensor's probes pass current through the soil and measure its resistance. The more water present, the more conductive the soil becomes, which lowers the resistance.
Hardware
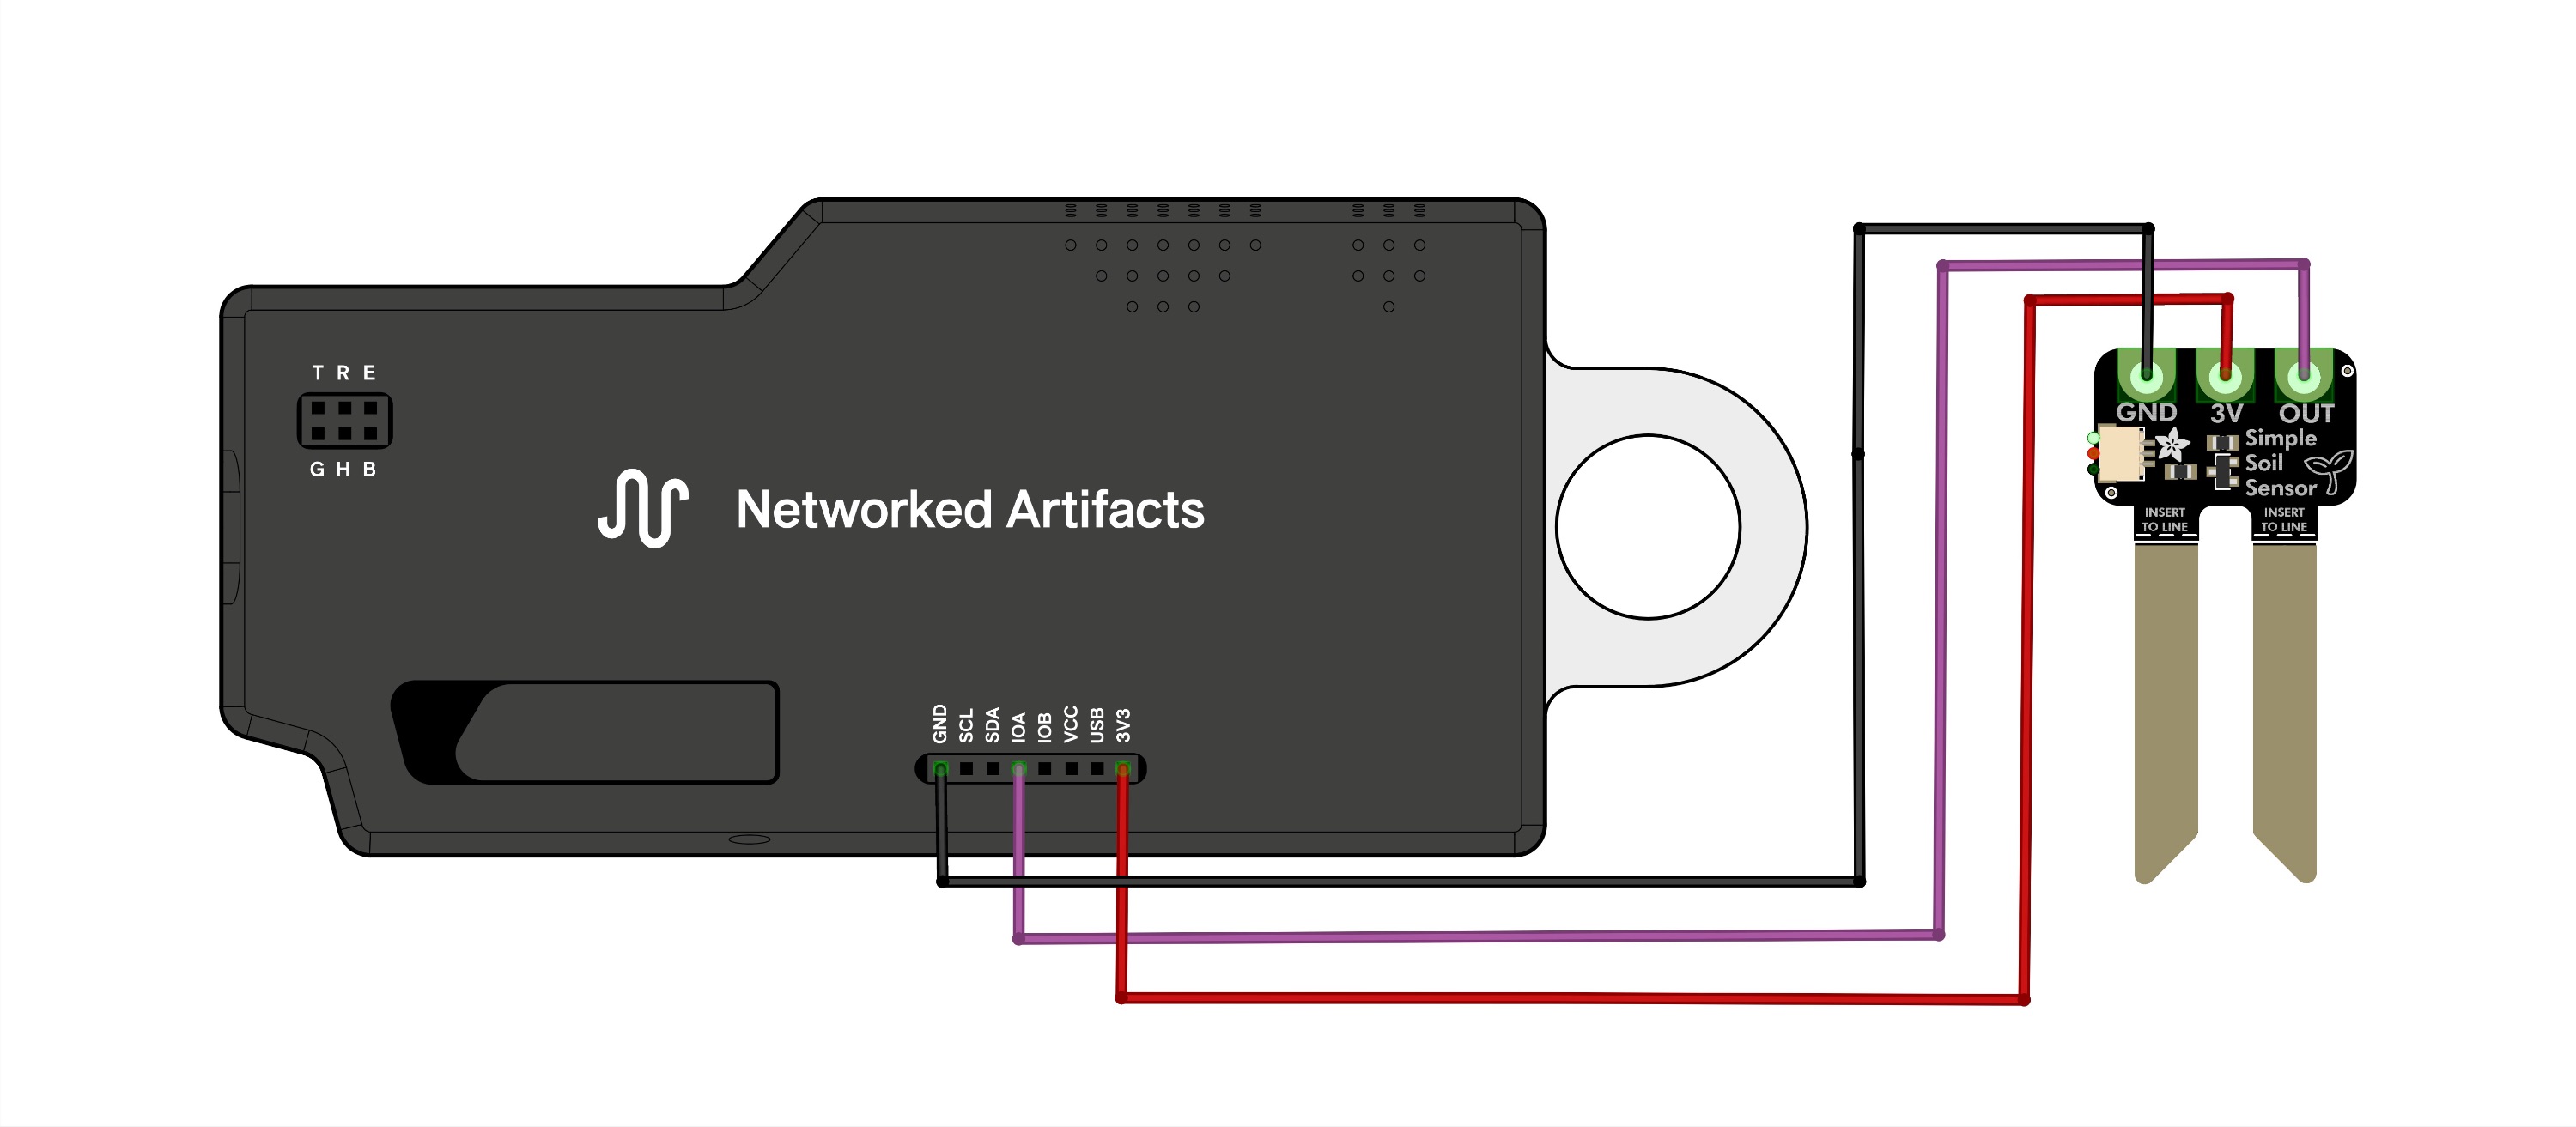
Air Lab's extension port allows connecting further sensors and components through its back panel.
Note: Depending on the sensor's brand or model, the pinout might have a different order.
To connect the soil sensor, follow these steps:
- Connect the sensor’s output signal pin to
IOA. - Connect the sensor's ground pin to Air Lab's
GND. - Connect the sensor's power pin (
V+) to Air Lab's3V3supply.
Script
We'll write the script using our Script Editor. If you're not familiar with it and how to get started, please check out its setup section in the manual.
Variable Declaration
Let's take a look at the variables and how to declare them.
First, we should declare the input pin. Air Lab's GPIO can be either digital input or output, analog input or PWM output. In this case, we need to define IOA as analog input. Inside of func main():
// configure pin A as analog input
AnalogConfig(1)
Next, we need to define the minimum and maximum reading of our sensor. This can be seen as a manual calibration of the sensor. When completely dry (i.e., just in the open air), it should read about 0. Set it accordingly:
// minimum of the reading when dry
minVal := 0
The maximum value can vary from sensor to sensor. To read the values, we need to be able to run the whole script. Keep this in mind, and once everything is running, run the calibration.
To imitate maximum saturation levels, place the sensor in a glass of water. Make sure not to submerge any of the electronics, but only the probes.
// maximum reading when completely submerged in water.
// adjust value based on your actual reading.
maxVal := 2500
To display the sentences, we first declare a variable of type string. In this example, we call it phrase, but since the name is user-defined, you can change it to anything you like.
// declare string variable
var phrase string
Sprites
We'll display the graphics using the Sprite method.
First, we need to upload the sprites via Script Editor.
- On the right-hand side, under Sprites, click Add Sprite.
- Navigate to the folder and select all the assets.
- Click open.
Now, under Sprites, you can see all five images with their file names and sizes.
![]()
Now that the sprites have been loaded, we need to be able to reference them in the code. To do so, we'll save each sprite in its own variable, using the LoadSprite() function. This function takes two arguments: the name of the sprite, and a scaling value. Since we want the images to be drawn at their original size, we'll set the scaling value to 1.
// save uploaded sprites into a corresponding variable
pot1 := LoadSprite("pot1", 1)
pot2 := LoadSprite("pot2", 1)
pot3 := LoadSprite("pot3", 1)
pot4 := LoadSprite("pot4", 1)
pot5 := LoadSprite("pot5", 1)
Next, we declare a variable named pot, which is a pointer to a Sprite, so we can later assign any of the loaded sprites to it.
// variable for drawing the image
var pot *Sprite
Loop
The code is executed in a loop line by line inside the for loop.
Inside the loop, there are also a few variable declarations. They're placed inside the loop, as they need to be updated with new values with each loop iteration, unlike the variable declarations above.
At the start of each loop, we clear the entire E-Paper display using Clear(White), ensuring the screen is blank before drawing new graphics.
With sensorValue := AnalogRead(1) we receive the sensor values and store them in a variable.
When sensor values fall below or exceed the intended minimum or maximum, integer overflow or other undesirable behaviors can occur. To address this issue, we can use the Constrain(value, min, max) function. As its name suggests, it will constrain the values to the specified minimum and maximum, ensuring that nothing passes below or above them. We'll store the constrained value in a new variable.
// constrain the moisture value between minVal and maxVal
constrainedVal := Constrain(sensorValue, minVal, maxVal)
The values we get from the sensor range from 0 to 2700 (or even more depending on the specific sensor). For our result, we want to represent soil moisture levels in five steps. To achieve this, we map the constrained value to its new range using the Map(value, fromMin, fromMax, toMin, toMax) function. This new range will again be stored in a variable.
// map the constrained moisture value to a range of 0 - 4
mappedVal := MapInt(constrainedVal, minVal, maxVal, 0, 4)
Now, we'll set the graphics and text based on the five levels. To achieve this, we use the clean syntax of the switch statement.
// set strings and image based on moisture levels
switch mappedVal {
case 0:
phrase = "Running on fumes"
pot = pot1
case 1:
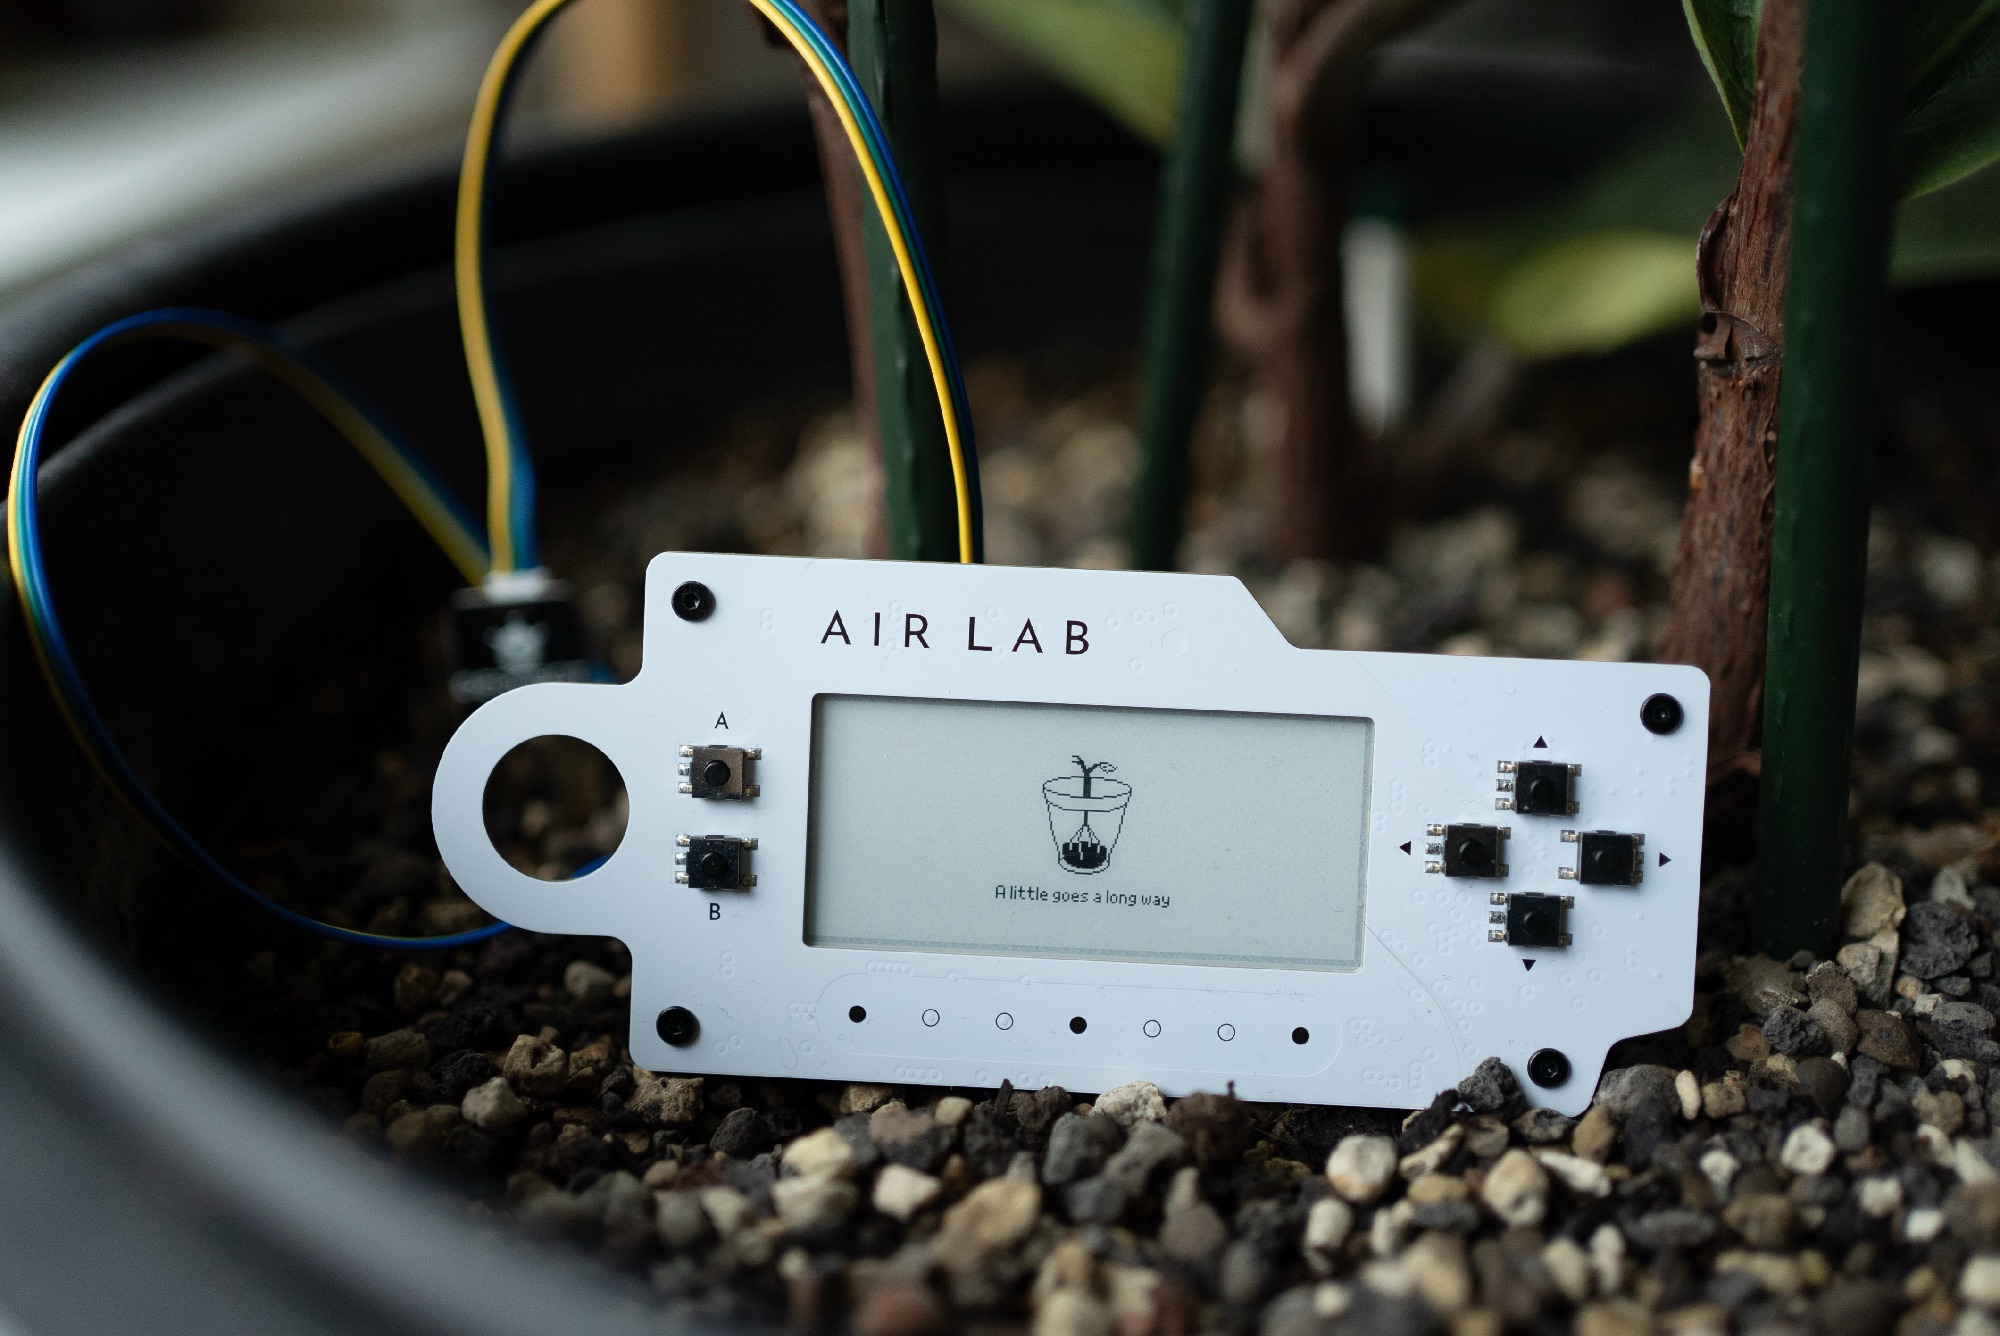
phrase = "A little goes a long way"
pot = pot2
case 2:
phrase = "Feeling great"
pot = pot3
case 3:
phrase = "Less is more"
pot = pot4
case 4:
phrase = "Cannot keep my head above water"
pot = pot5
}Let's break it down:
switch MappedVal tells the switch statement which value to check.
When the value is 0 (i.e., case 0:), we set phrase to a sentence describing dry soil, and assign pot to the first sprite. The same pattern repeats for all five cases, each assigning a specific sentence and matching sprite
![]()
The lines above only set variables based on the moisture level, but now we need to display them. To do that, we use sprite.Draw() to draw the selected sprite on the screen.
// draw image
pot.Draw(Width/2-32, Height/2-40, 0)
Next, to render the text, we'll use the Write() function.
// render phrase
Write(Width/2, Height-32, 0, Pixel8, Black, phrase, AlignCenter)
Let's break down the arguments we passed to the function in order of appearance:
- X, Y: Location on the screen in pixels. In this case we take the predefined system variable
Widthand divide it by 2 to render the text the middle of the screen on the X axis. TheHeightis divided by 2 minus 32 to render the text slightly under the middle on the Y axis. - lineSpacing: The amount of space in pixels between lines of text. In this case, it's set to 0 since there's only one line of text.
- Font: There are three available fonts,
Pixel8,Pixel16andPixel24. The figure refers to the height of the font in pixels. - Color: The text's color. Due to the nature of the E-Paper display, available arguments are
WhiteandBlack. - Text String: This is the text itself. In this case we pass our string holding variable,
phrase. - WriteFlags: Sets where the text aligns to. The two arguments are
AlignCenterandAlignRight.
The last thing we need to take care of is being able to quit the plugin when it runs.
The Yield() function takes a single argument, a timeout in milliseconds, during which the script pauses and yields control back to Air Lab's operating system.
// wait for input or timeout after 1 second
event := Yield(1000)
Now that the system has one second per iteration to check for user inputs, we need to add a way to quit the plugin. We do this by checking whether event equals the predefined input constant Escape (which is a press on the button of Air Lab) if so, the function stops executing and returns, effectively exiting the plugin.
// handle escape
if event == Escape {
    return
}
Full Code
package main

// create a mapping function
func MapInt(x, inMin, inMax, outMin, outMax int) int {
    return (x-inMin)*(outMax-outMin)/(inMax-inMin) + outMin
}

// create a constrain function
func Constrain(x, min, max int) int {
    if x < min {
        return min
    }
    if x > max {
        return max
    }
    return x
}

func main() {
    // configure pin A as analog input
    AnalogConfig(1)

    // minimum of the reading when dry
    minVal := 0

    // maximum reading when completely submerged in water.

    // this might be different depending on the sensor
    maxVal := 2500

    // declare string variable
    var phrase string

    // save uploaded sprites into a corresponding variable
    pot1 := LoadSprite("pot1", 1)
    pot2 := LoadSprite("pot2", 1)
    pot3 := LoadSprite("pot3", 1)
    pot4 := LoadSprite("pot4", 1)
    pot5 := LoadSprite("pot5", 1)

    // variable for drawing the image
    var pot *Sprite

    for {
        // clear screen
        Clear(White)

        // lookup info
        sensorValue := AnalogRead(1)

        // constrain the moisture value between minVal and maxVal
        constrainedVal := Constrain(sensorValue, minVal, maxVal)

        // map the constrained moisture value to a range of 0 - 4
        mappedVal := MapInt(constrainedVal, minVal, maxVal, 0, 4)

        // set strings and image based on moisture levels
        switch mappedVal {
        case 0:
            phrase = "Running on fumes"
            pot = pot1
        case 1:
            phrase = "A little goes a long way"
            pot = pot2
        case 2:
            phrase = "Feeling great"
            pot = pot3
        case 3:
            phrase = "Less is more"
            pot = pot4
        case 4:
            phrase = "Cannot keep my head above water"
            pot = pot5
        }

        // draw image
        pot.Draw(Width/2-32, Height/2-40, 0)

        // render phrase
        Write(Width/2, Height-32, 0, Pixel8, Black, phrase, AlignCenter)

        // wait for input or timeout after 1 second
        event := Yield(1000)

        // handle escape
        if event == Escape {
            return
        }
    }
}
And that's it!
You learned how to connect an external sensor to your Air Lab and create a plugin that will draw graphics and text based on its values. If you have any questions or a wish for a tutorial covering another external sensor, reach out to us hello@networkedartifacts.com.